



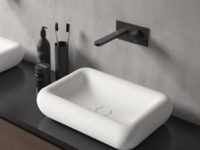

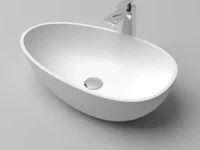
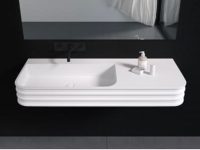
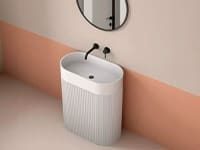

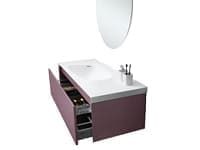



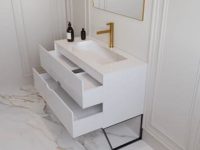









Installing a wall-hung basin is one of the smartest ways to give your bathroom a sleek, modern feel while maximising floor space. These basins are directly mounted onto the wall to create a floating effect. This not only looks elegant but also makes cleaning much easier. Perfect for both small cloakrooms and contemporary bathrooms, wall-hung basins have become a favourite among UK homeowners looking to achieve a stylish, clutter-free design.
This blog helps you achieve a professional finish with clear wall-hung basin fitting instructions and practical advice. Let us get started!
Preparation and Planning
Assess Wall Structure
A wall-hung basin must be fixed to a solid support. Check that you have timber studs, a solid masonry wall, or a purpose-built support frame. Lightweight plasterboard alone will not hold the weight of the basin. If the wall lacks adequate backing, you will need to fit a reinforced timber block or a metal carrier system designed for basins.
Prepare Tools and Materials
Gather everything before you begin. Typical items include a stud finder, spirit level, drill with masonry and wood bits, adjustable spanner, socket set, tape measure, pencil, silicone sealant, washers, nuts and threaded rods, sink bracket or carrier, pipe cutters, flexible tap hoses, and trap fittings. Have a bucket and rags ready for any water spill.
Turn Off Services
Isolate the water at the mains or the local isolation valves. Open the taps to drain the remaining water. If you are removing an old basin, disconnect the waste and water supplies first, then remove the unit carefully.
Key Considerations
Mounting Options
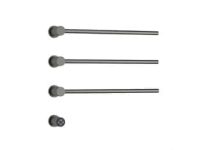
There are two common approaches. A basin can be mounted to threaded wall rods that anchor into solid timber or masonry. Alternatively, a concealed steel carrier is fixed inside the stud wall and carries the basin fittings. Choose the method that matches the wall construction and the basin’s weight rating.
Height and Positioning
Think about user comfort and the bathroom layout. A typical rim height is around 34 inches from floor level, but adjust for user needs. Mark the height and check the alignment of the waste with the soil or trap location. A precise setting here saves extra work later.
Step-by-Step Guide on How to Install a Wall-Hung Basin
1. Mark and Check
Use the basin template or measure the mounting holes on the basin. Transfer those points to the wall at the chosen height. Use a spirit level to guarantee a horizontal line. Double-check the positions of studs or carrier brackets.
2. Drill and Fit Fixings
Drill pilot holes at your marked positions. If you are attaching directly to timber or masonry, install heavy-duty wall plugs and threaded rods or bolts to the required depth. For a carrier, fix the frame using the manufacturer’s recommended anchors and make sure it is plumb and secure.
Fixing Tip: Tighten fixings progressively and avoid over-tightening. Over-stressing fixings can crack plaster or ceramic when the basin is rehung.
3. Pre-Assemble the Basin
Fit the basin waste and the tap to the basin while the unit is accessible on a bench. This step makes plumbing connections easier later. Fit the seal and make sure the waste is watertight before lifting the basin into position.
4. Connect Supply Lines
Install isolation valves if they are not present. Attach flexible tap hoses to the faucet tails and to the shutoff valves. Use PTFE tape on threaded joints where appropriate. Keep connections accessible for future maintenance.
5. Mount the Basin
Lift the basin onto the protruding threaded rods or into the carrier bracket. Fit washers and nuts and tighten evenly until the unit sits snugly against the wall. Use a spirit level to confirm the basin is perfectly horizontal before fully tightening.
6. Final Plumbing
Attach the trap to the basin waste and connect it to the soil or waste pipe. Check the trap alignment and ensure that the waste slope allows water to drain freely. Tighten all nuts and test for a secure fit.
Wall-Hung Basin Fitting Instructions
Once mounted, run the supply and check all joints for leaks. Turn on the isolation valves and let water flow into the waste while observing connections. Apply a narrow bead of silicone sealant between the basin rim and the wall to prevent water ingress. Smooth the bead with a wetted finger for a neat finish. Allow the sealant to cure as per the manufacturer’s guidance before using the basin heavily.
Common Issues and Troubleshooting
Basin Not Level
If the basin tilts after fitting, loosen the fixing nuts slightly and re-level. Check the carrier or fixings for uneven compression and adjust packing if needed.
Dripping Joint
A slow drip usually means a loose connection or a damaged washer. Tighten the joint gently and replace any worn washers or seals. Avoid using excessive force that could strip threads.
Insufficient Support
If the wall creaks or moves, remove the basin and reinforce the wall. Install timber noggins or switch to a certified carrier system. A secure fix is essential for safety.
Maintenance and Care
Clean the basin with non-abrasive cleaners and a soft cloth. Avoid harsh acids or bleach on finishes. Periodically check isolation valves and trap connections for signs of corrosion or leaks. If the basin ever needs removal, support it carefully to prevent damage to the fixings.
Final Checks Before You Finish
Confirm the basin is level and fixed securely. Confirm the trap has an adequate seal and that there is no smell at the waste junction. Check the silicone seal for completeness and tidy any excess once cured. Make a note of the isolation valve locations so household members can shut off supplies in an emergency.
If you would like to buy bathroom products in the UK, RNK can help you choose appropriate parts for your project.
Conclusion
A successful wall-hung basin installation combines careful planning, the right fixings, and accurate plumbing work. A solid wall structure or a certified carrier is essential. Pre-assemble fittings on the bench, mark your positions carefully, and test all joints for leaks before finishing with a sealant. When in doubt about structural work or any aspects of the soil stack, hire a qualified plumber. With attention to these points, your new basin will look tidy and provide reliable service for years.
If you are in search of a high-quality wall-mounted stone sink, then have a look at RNK’s collection!
